Learn how to connect Magento with Microsoft Dynamics 365 Business Central with a step-by-step guide, benefits, methods, and best practices for smooth integration. Managing an online store and backend operations separately often leads to delays, data mismatches, and extra effort. That’s where integration becomes essential. When Magento is connected with Business Central, everything becomes more aligned, from sales to accounting.
Lets discuss guide explains how the connection works, the different methods you can use, and a clear step-by-step process to help you set it up correctly in this article “How to Connect Magento with Microsoft Dynamics 365 Business Central. Whether you’re a small business or scaling fast, this will help you build a reliable system that actually supports growth.
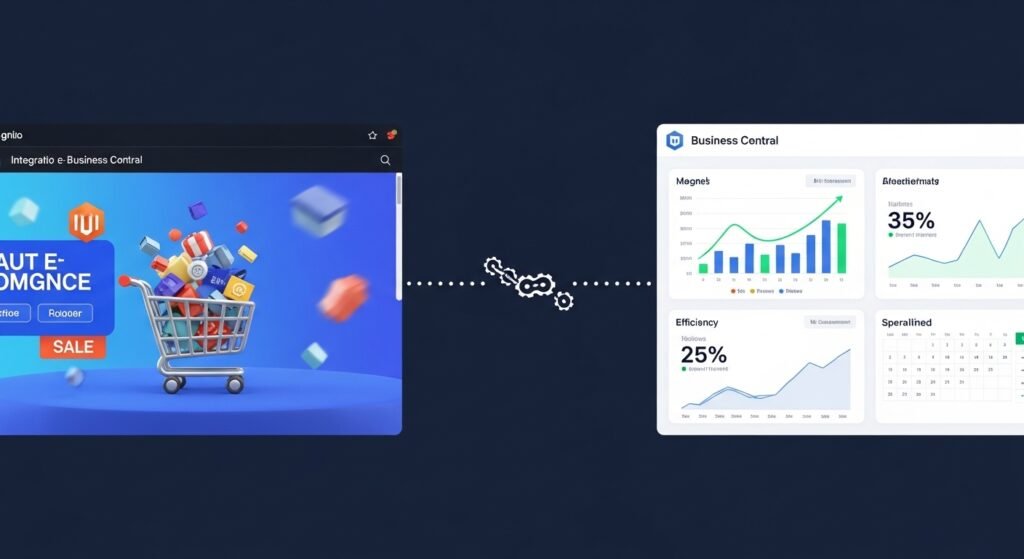
What Does Magento and Business Central Integration Mean?
Magento is an eCommerce platform used to manage products, orders, and customers online. Business Central is an ERP system that handles finance, inventory, and operations. Integration connects these two systems so they share data automatically.
Instead of updating both platforms separately, integration ensures that actions in one system reflect in the other. For example, when a customer places an order in Magento, it appears in Business Central without manual entry.
Connect Magento with Microsoft Dynamics 365 creates a single source of truth, helping teams work more efficiently and avoid confusion.
Why You Should Connect Magento with Business Central
Running an online business without integration often leads to repetitive tasks and data errors. When systems are Connect Magento with Microsoft Dynamics 365, the workflow becomes smoother and easier to manage.
Before looking at the technical steps, it’s important to understand what you gain from this setup:
- Orders sync automatically from Magento to Business Central
- Inventory updates stay consistent across both systems
- Customer data is centralized and easy to manage
- Financial records remain accurate without manual input
- Time spent on repetitive tasks is reduced
These benefits make a real difference, especially when order volume increases.
Key Data You Can Sync Between Magento and Business Central
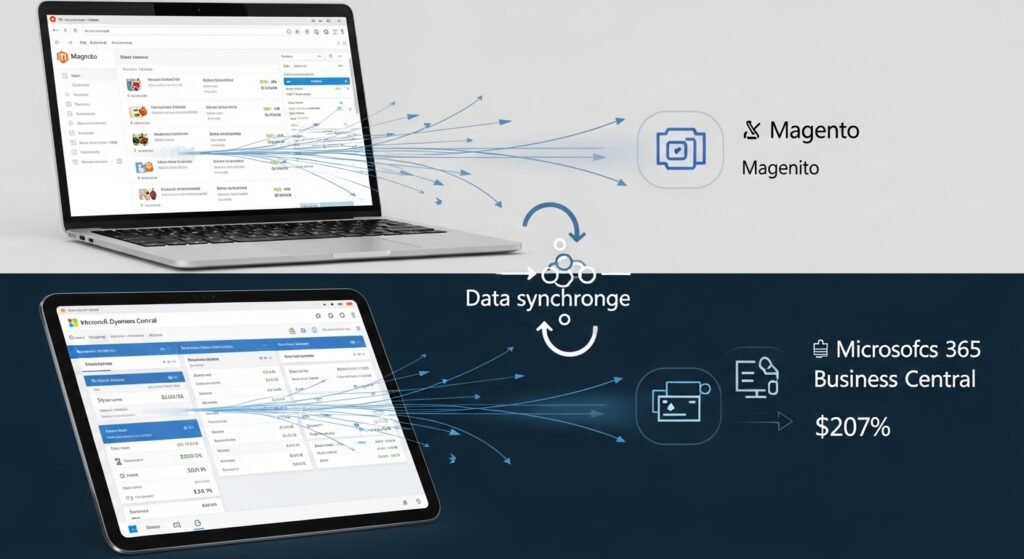
When you, Connect Magento with Microsoft Dynamics 365 several types of data can move between them. This ensures your business runs on updated and consistent information at all times.
Here’s what typically gets synced:
- Products and item details
- Inventory levels
- Customer information
- Sales orders and invoices
- Shipping and tracking details
This data flow keeps your operations aligned without needing constant manual updates.
Methods to Connect Magento with Business Central
There isn’t just one way to Connect Magento with Microsoft Dynamics 365. The method you choose depends on your business needs, budget, and technical setup.
1. Using a Ready-Made Connector
This is the easiest and fastest method. Pre-built connectors are designed to link Magento with Business Central without heavy development work.
They usually offer:
- Quick setup
- Standard data syncing features
- User-friendly interface
- Lower upfront cost
This option works well for most businesses that want a reliable and simple solution.
2. Custom API Integration
If your business has specific requirements, custom integration using APIs might be the better option. Magento and Business Central both support APIs, allowing developers to build a tailored connection. This method gives you more control but requires technical expertise and time.
3. Middleware Integration
Middleware acts as a bridge between Magento and Business Central. It helps manage data flow, especially when dealing with complex processes or multiple systems.
This option is useful for businesses with advanced workflows or multiple platforms connected together.
Step-by-Step Guide to Connect Magento with Business Central
Setting up the integration may seem technical, but when broken down into steps, it becomes much easier to handle. Below is a clear and practical process you can follow.
Step 1: Prepare Your Magento Store
Before starting the connection, make sure your Magento store is ready. Data should be clean, organized, and properly structured.
Take a few minutes to review the basics:
- Ensure products and categories are correctly set
- Remove duplicate or outdated data
- Enable API access in Magento
- Check user roles and permissions
This step avoids issues later during the integration process.
Step 2: Set Up Business Central
Now move to your ERP system and prepare it for integration. Business Central should be configured to handle incoming data from Magento.
Focus on the following setup:
- Configure inventory and item lists
- Set up customer and vendor records
- Review financial settings
- Enable web services or APIs
A properly configured system ensures smooth data flow once connected.
Step 3: Choose the Right Integration Method
At this stage, decide how you want to connect both systems. Your choice depends on your technical skills and business complexity.
To make it easier:
- Choose a connector if you want a simple and quick setup
- Go for API integration if you need custom workflows
- Use middleware if you manage multiple systems
Picking the right method saves time and avoids unnecessary complications.
Step 4: Map Data Between Systems
Data mapping is a critical step. It tells the system how information from Magento matches with fields in Business Central.
Spend time aligning the following:
- Product fields (SKU, name, price)
- Customer details (name, email, address)
- Order structure and status
- Tax and shipping rules
Accurate mapping prevents data mismatches and errors later.
Step 5: Test the Integration
Before going live, always test the connection. This helps identify issues early and ensures everything works as expected.
During testing:
- Place test orders in Magento
- Check if they appear correctly in Business Central
- Verify inventory updates
- Review customer data syncing
Testing builds confidence that your system is ready.
Step 6: Go Live and Monitor
Once testing is complete, you can go live. But the work doesn’t stop here. Monitoring is important to ensure everything continues running smoothly.
Keep an eye on:
- Sync errors or delays
- Order processing accuracy
- Inventory consistency
- System performance
Regular checks help maintain a stable integration.
Common Challenges and How to Avoid Them
Even with a clear setup process, some challenges can appear. Knowing them in advance helps you avoid delays and frustration.
Here are a few common issues and simple ways to handle them:
- Data mismatch due to incorrect mapping
- API connection errors
- Duplicate records in systems
- Delays in syncing large data
Most of these problems can be avoided with proper planning, testing, and regular monitoring.
Best Practices for a Smooth Integration
A successful integration is not just about connecting systems it’s about maintaining accuracy and reliability over time.
Before wrapping up, here are some practical tips that make a real difference:
- Keep your data clean and updated
- Use automation wherever possible
- Schedule regular system checks
- Limit manual data entry
- Work with experienced integration partners
Following these practices helps you get long-term value from your setup.
Make Your Magento and Business Central Work Better Together
To Connect Magento with Microsoft Dynamics 365 the real value comes from how well they support your daily operations. At Business Central Magento, we help businesses bring their eCommerce and ERP systems together in a way that actually makes work easier.
Our team connects Magento with Business Central and other platforms like Shopify and WooCommerce, making sure your products, orders, inventory, and customers stay in sync. We focus on reducing manual effort, avoiding errors, and helping you manage everything from one place. If you want a setup that works reliably and grows with your business, we’re here to help.
Conclusion
To Connect Magento with Microsoft Dynamics 365 Business Central is a practical step for any business looking to simplify operations and reduce manual work. It helps keep your data accurate, improves order handling, and gives you better control over inventory and finances. While the setup may take some planning, the long-term benefits make it worth the effort. If you want a reliable and efficient system, working with an experienced partner like Business Central Magento can make the process much smoother and help you get the most out of your integration. Need help connecting your store and ERP system the right way then contact us? Get clear guidance to set up a smooth and reliable integration Book a Meeting.
FAQ’s
How long does it take to connect Magento with Business Central?
It depends on the method you choose. A connector can take a few days, while custom integration may take a few weeks depending on complexity.
Do I need technical skills to set up the integration?
Not always. Using a ready-made connector usually requires minimal technical knowledge, but custom setups may need a developer.
Can I sync inventory in real time?
Yes, most integrations support real-time or near real-time inventory updates to keep stock levels accurate.
What happens if the sync fails?
Most systems log errors and allow retries. Regular monitoring helps you catch and fix issues quickly.
Is Magento Business Central integration secure?
Yes, when done properly using APIs and secure connections, your data remains protected.
Can I connect multiple Magento stores?
Yes, Business Central can handle multiple stores if the integration is configured correctly.
